
How to get a Printer Query File
A Printer Query File is an export from your Magicard printer containing useful printer configuration and settings, all in a simple text file (.txt).
It is often helpful to provide a query file to your technical support agent during a support case as it contains a great amount of technical printer data and is a valuable diagnostic tool.
![]()
Windows Only
How to obtain a Printer Query File
With the latest driver via Printer Properties > Tools Tab
Navigate through the following steps:
-
- Control Panel
- Devices and Printers
- Right Click your printers icon
- Printer Properties
- ‘Tools’ Tab
- ‘Query’ Button
- Once the data has populated (be patient)
Please then save your file as:
query-your-serial-number.txt
query-12F3456.txt
If your support agent requested a query file please attach it to your existing web case or email thread, thank you, it will be very helpful.
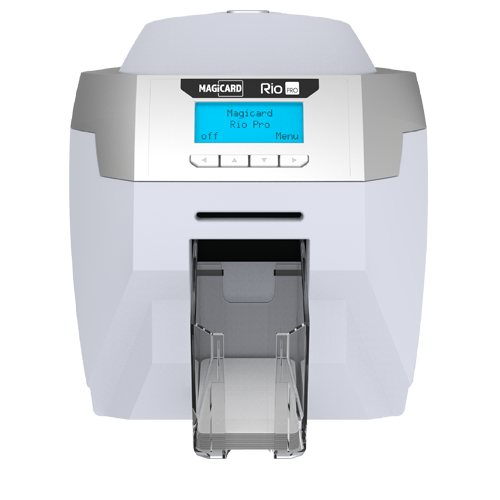
The video guide below shows an older Windows 7 PC and driver and a Generation 1 Rio Pro but this is the same process for current printers too.
I don’t see the ‘Tools Tab’?
You are running an older version of the Magicard Printer Driver.
We recommend you udate to the latest Windows Driver (and Printer Firmware) – navigate to the homepage for your specific printer to find the latest downloadable files.
Or scroll below to use the Support Utility which negates the need for succesful driver connection.
Screenshot Guide:
From Control Panel > Devices and Printers > Right Click your printers icon > Printer Properties > Tools Tab > Query Printer Button


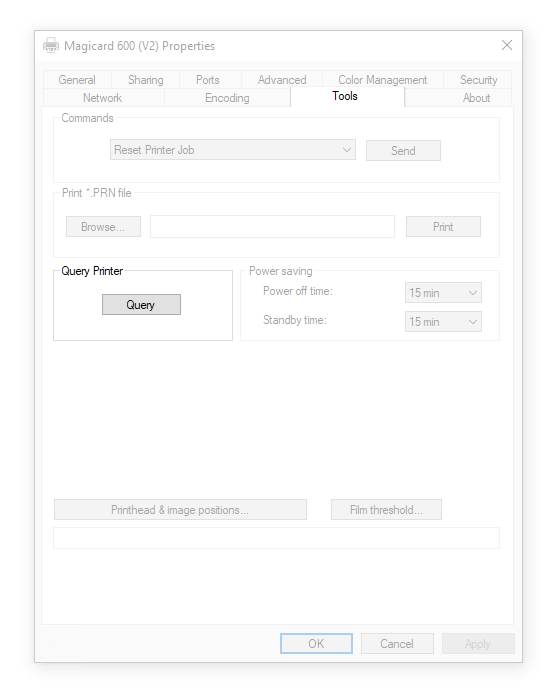
⏳ Wait for the query information to be gathered (be patient), then click Save.
Please name your file with your printers serial number: 12F3456.txt
If Technical Support have requested a query file please attach it to your existing web case or email thread, thank you… 🙏
Via the ID Card Printer Support Utility
⚠️ Compatible with Generation 1 printers Only
Rio Pro, Enduro, Pronto*

This page will help to explain the differences in more detail.
The electronics package installed is MK1 therefore this Support Utility can be used ✅
The electronics package installed is MK2 therefore this Support Utility cannot be used 🚫
https://youtu.be/cUyUaK0czSY
The video guide below shows an older Windows 7 PC and driver and a Generation 1 Rio Pro but this is the same process for current printers too.


