
Card Sensors | Testing and Cleaning
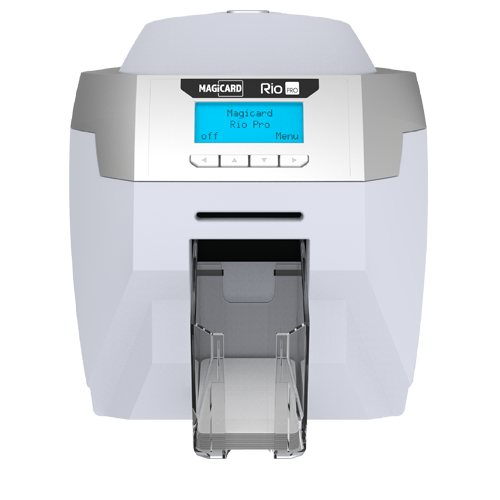
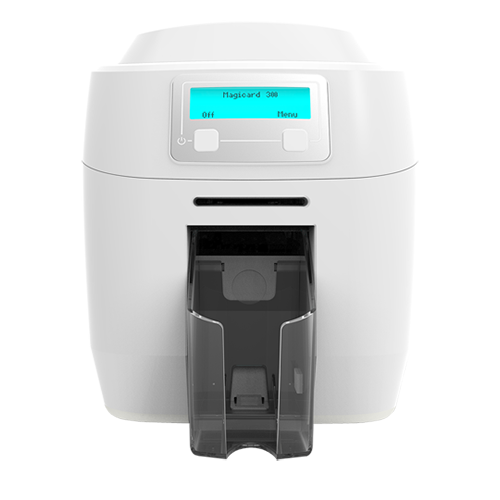
This guide will help demonstrate how to access the Rio Pro’s card sensors for testing and cleaning purposes.
Sensor testing and cleaning guide
Entering Maintenance Menu:
Firmware Version |
Old Sequence< 15.56 |
New Sequence= > 15.56 |
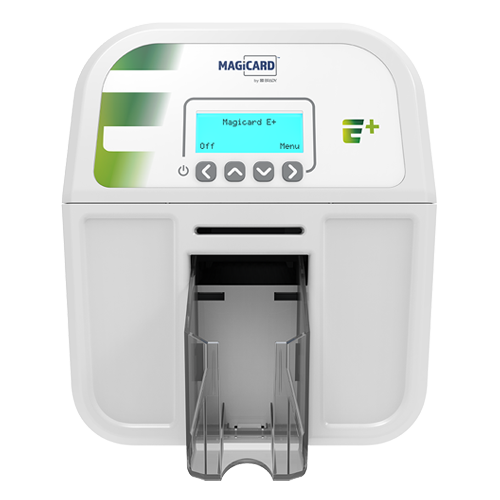
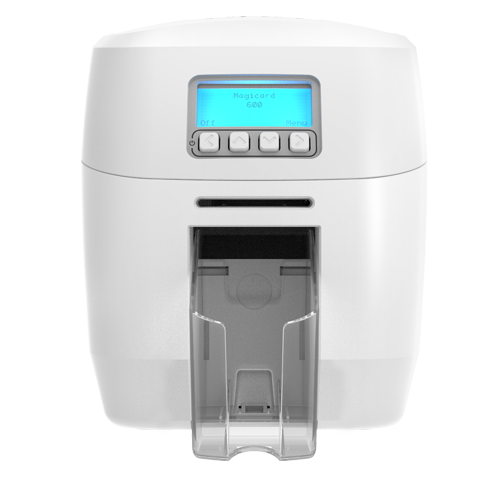
4 button printers
|
|
|
2 button printers
|
|
|

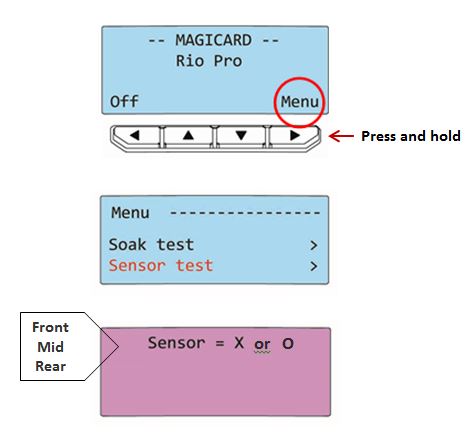
Once in Maintenance menu:
- Scroll down to and select Sensor Test
- Scroll to the sensor of your choice (front, mid, rear)
- The display will show the state of the selected sensor.
Sensor = O
means No card is detected
Sensor = X
means a card is detected
Carefully inserting a card into and out of the relevant sensor in question should toggle the display from O > X etc…
With the printer displaying the sensor state as above you can insert a card in the sensor to see its state change on the display.
Scroll down to see the locations of the card sensors after first seeing directly below for why this may need to be done.
Dust build up?
Dust may build up over time and can affect the sensor operation:

You can access each sensor (see below) and gently manually clean with compressed air and/or soft brush.

Also ensure you have the correct cleaning cards for your printer. These are shown in the related article below. 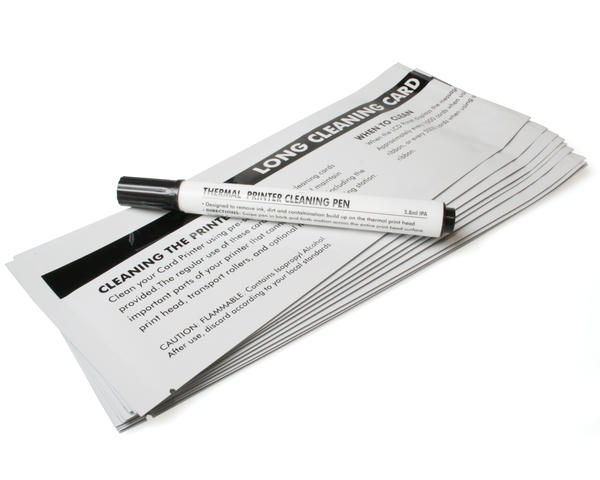
🧽 You can also view the Cleaning Videos for your specific printer model on Magicard’s YouTube Channel
![]()
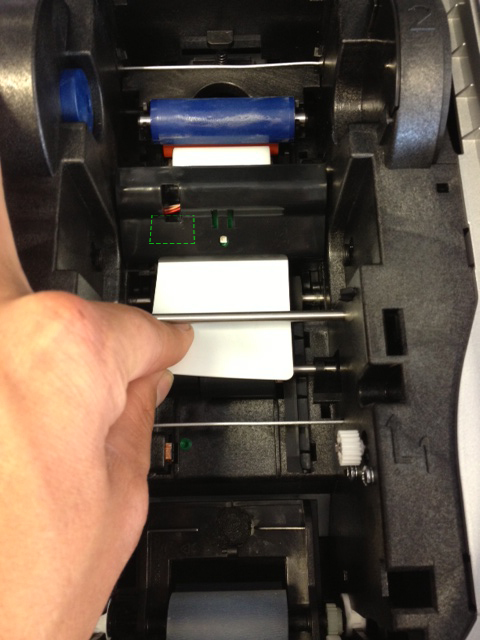
FRONT CARD SENSOR
With the lid open and dye film removed insert a card into this position to test the front sensor.
The sensor is inside the block at the top left of the card shown below:
You can clean as described above; air & brush.
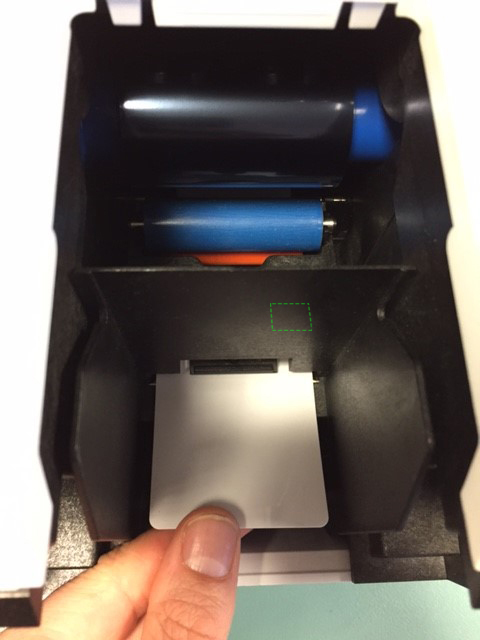
MIDDLE CARD SENSOR
Insert a card into this position to test the mid sensor:
To get better access for manual cleaning of the Middle Sensor a more advanced technique is shown in the video below:
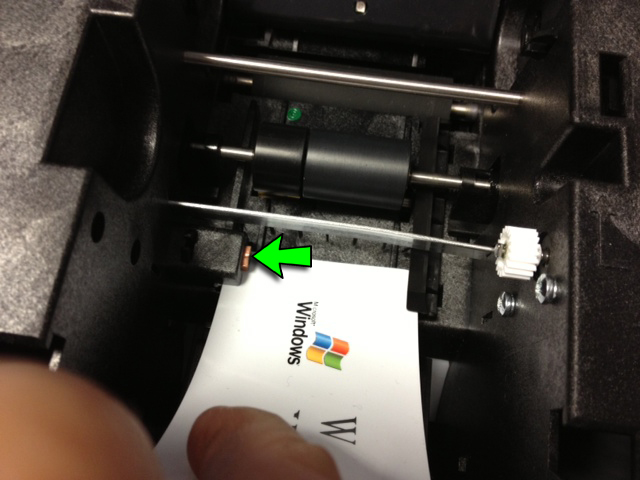
REAR CARD SENSOR
Insert a card into the rear feed to trigger the rear sensor (on top of the feed roller, below the card separator, about half the card length in)
To gain better access to the rear sensor, open the lid and remove the cleaning rollers:


