How do I use my Magicard printer?
We sometimes get enquiries from people who find themselves having to use a printer they are unfamiliar with.
- Maybe somebody left the business and lucky old you inherited the task of printing ID badges?
- Or, a poor forgotten old Magicard printer has been uncovered and you want to get it up and running?
- Maybe it's just been a while?
Either way, you have a printer in front of you and no idea what to do next...
Don't worry - this page is for you!
We wrote this page to help you get the printer setup and tested and at the end we discuss how to actually print to it from a computer.
From our experience this type of situation is mostly for direct to card printers, rather than retransfer... so Pronto, Enduro's, Rio Pro's, Magicard 300 or 600 perhaps.
If you are sat in front of a Prima 4, Prima 8 or an Ultima then this page will still help but those printers can be more technical to setup so also please see the info and user guides linked to from start.magicard.com.
https://magicard.com/direct-to-card-vs-retransfer-technology/
If you are completely new to the printer and it's technology then these articles may be of interest:
https://magicard.com/what-is-dye-sublimation-printing/
and more articles can be found here:
https://magicard.com/articles/
Please follow each link as you work through the steps below.
They are all important and will save you from wasted time and frustration later on.
Let's start with the printer on its own
It must have it's correct original power supply
THIS IS VERY IMPORTANT
For Pronto
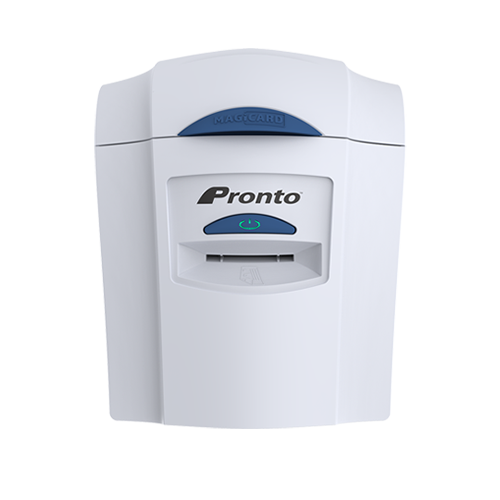
https://support.magicard.com/support-solution/correct-printer-power-supply-pronto/ ↗
For all Enduro models
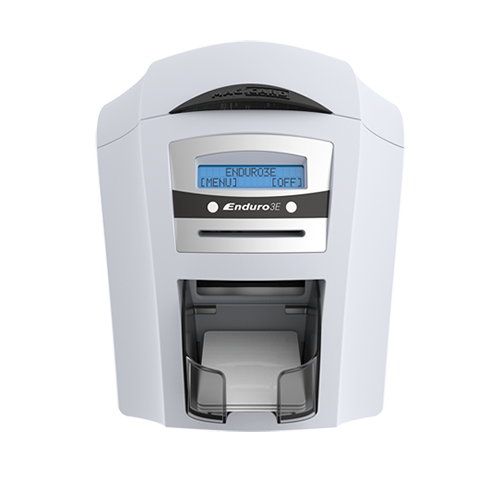
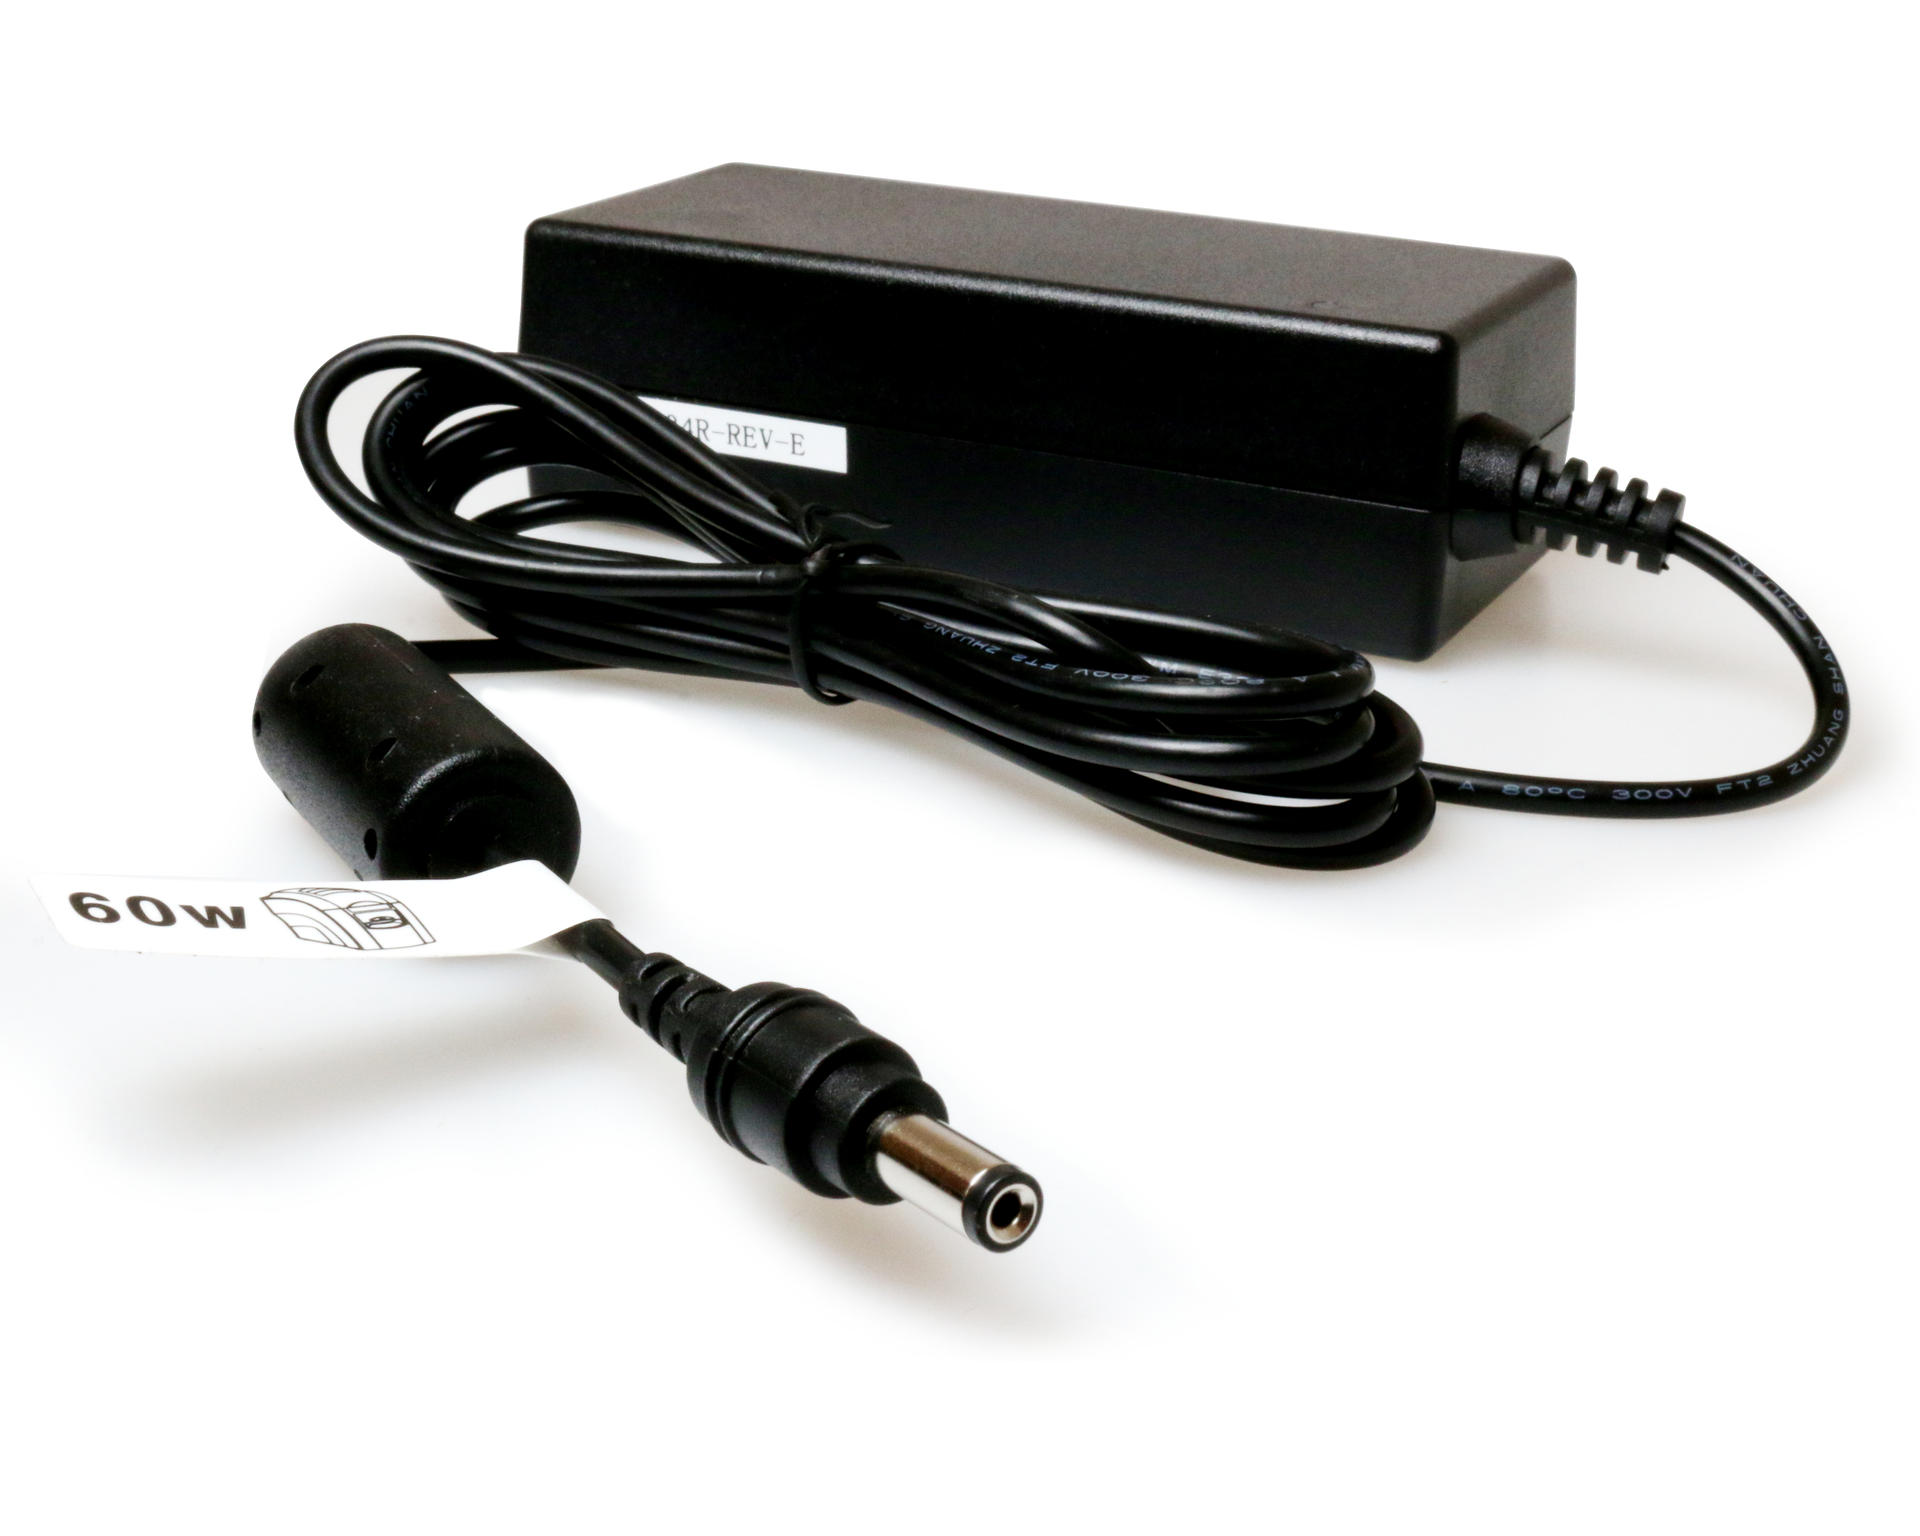
https://support.magicard.com/support-solution/correct-printer-power-supply-60w ↗
For Rio Pro and all generation 2 DTC Printers
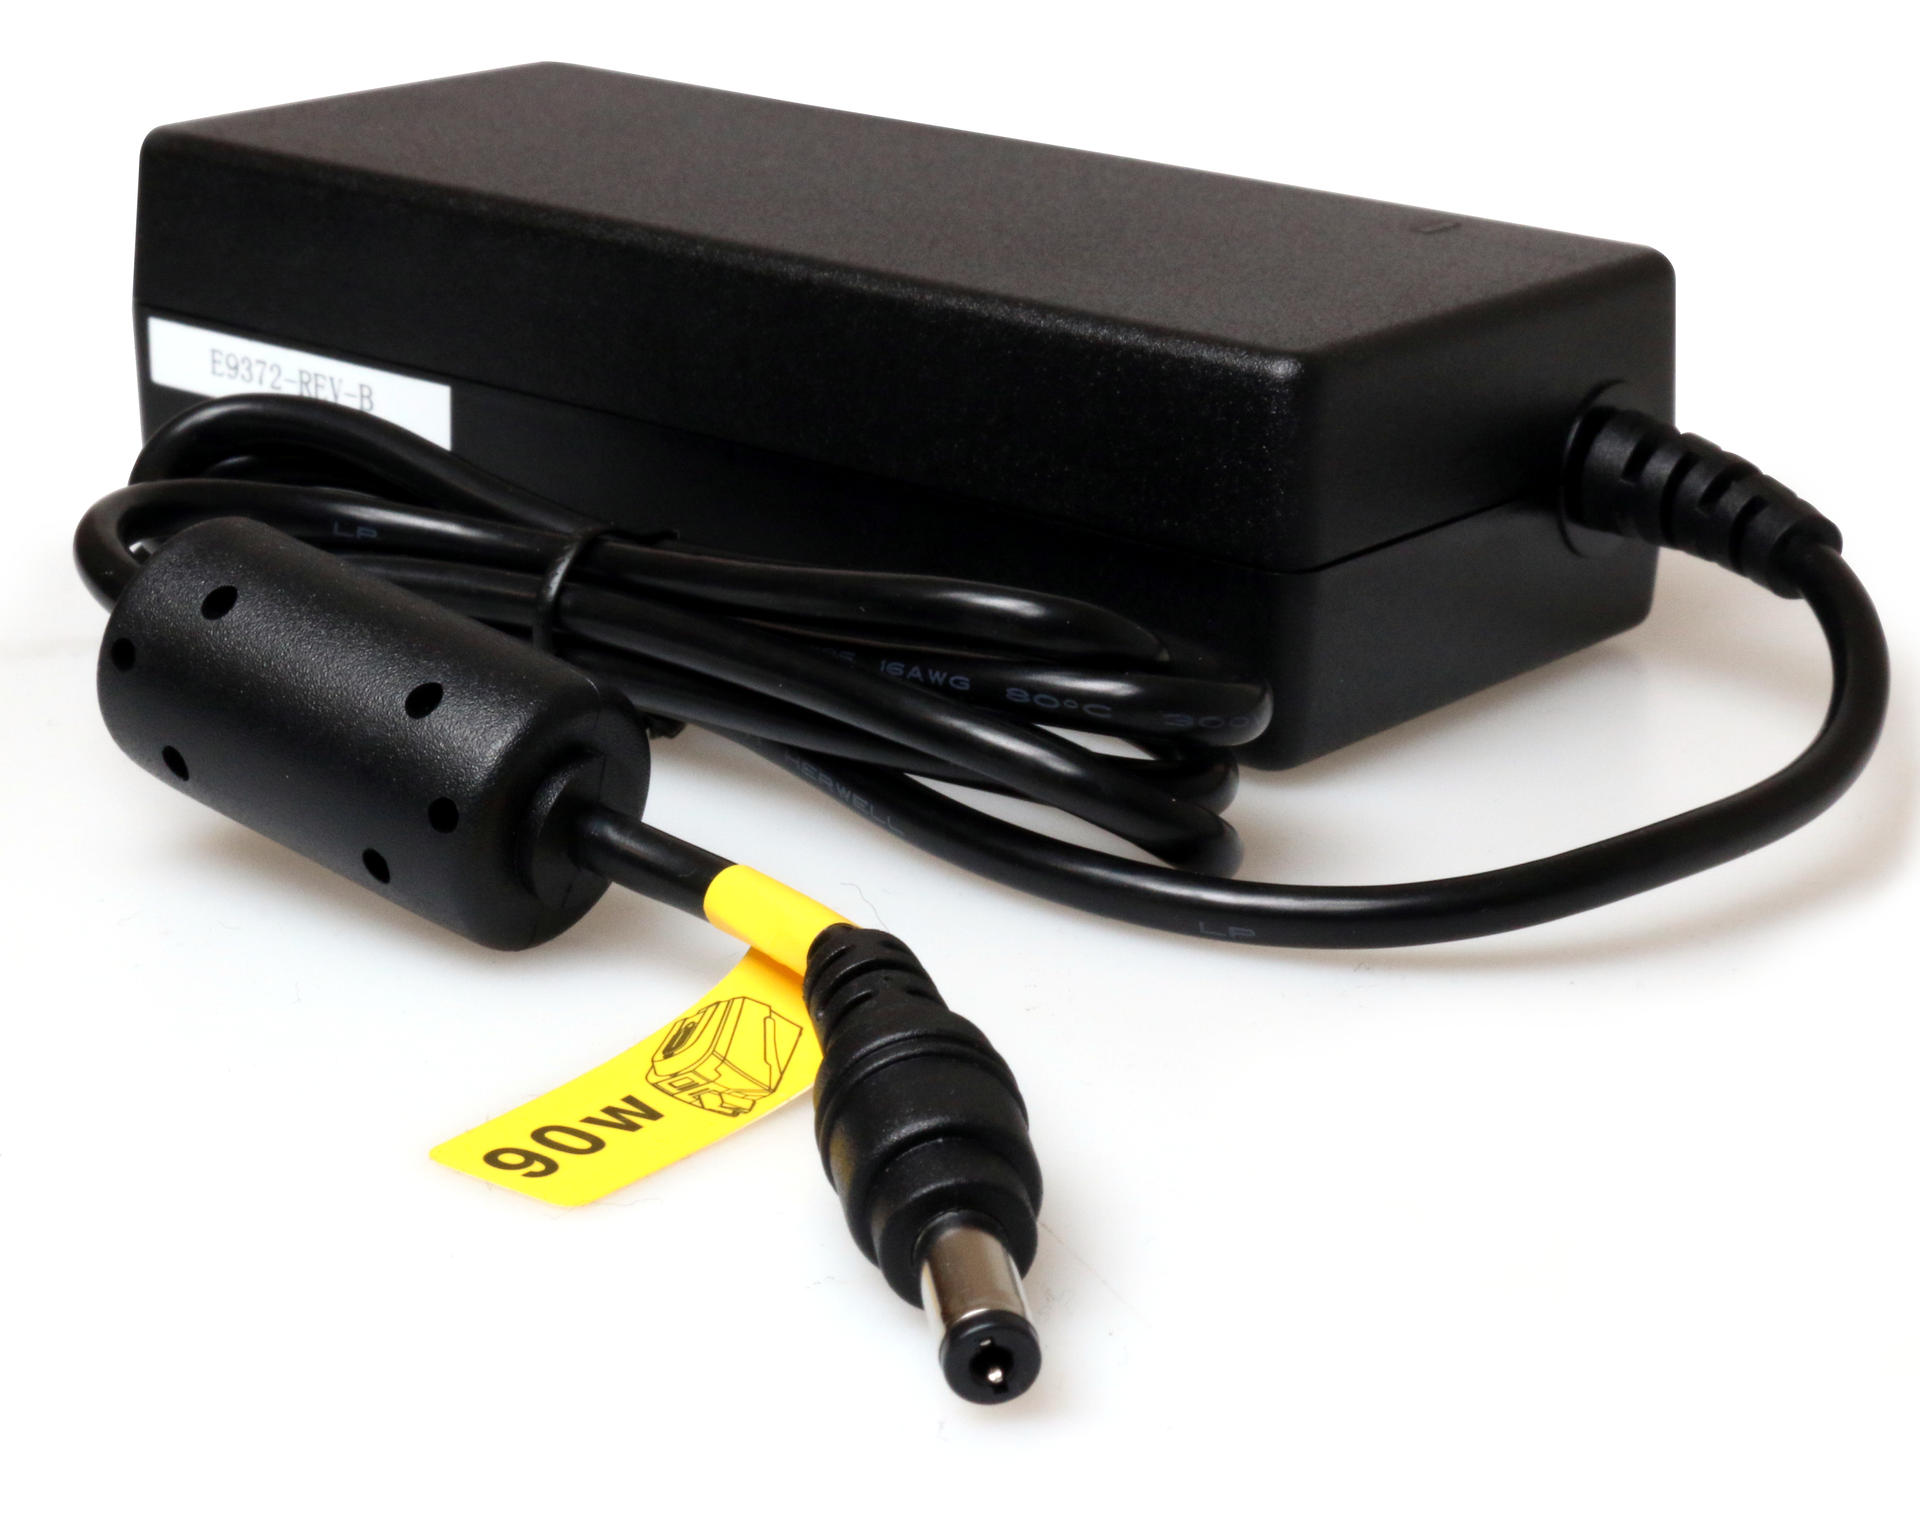
https://support.magicard.com/support-solution/correct-printer-power-supply-90w ↗
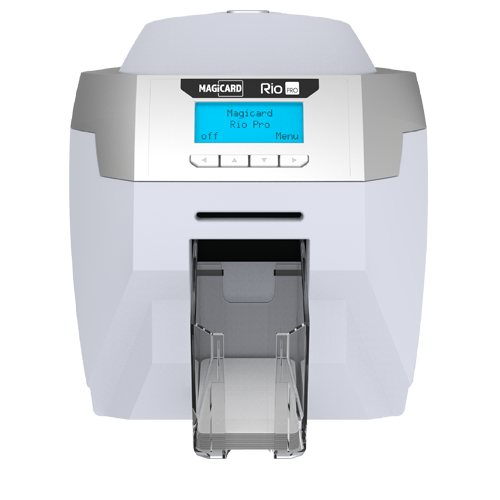
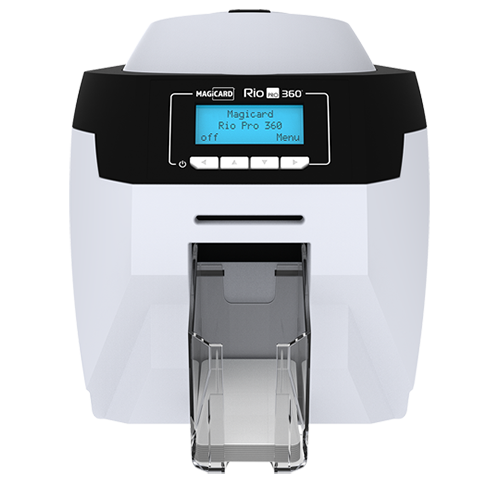
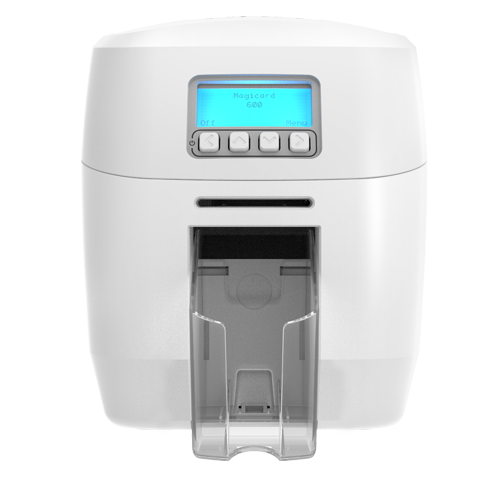
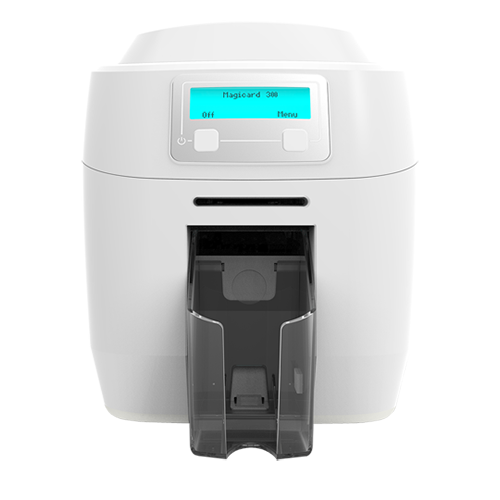
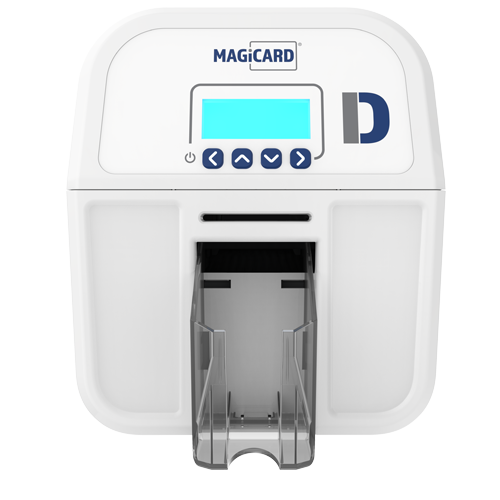
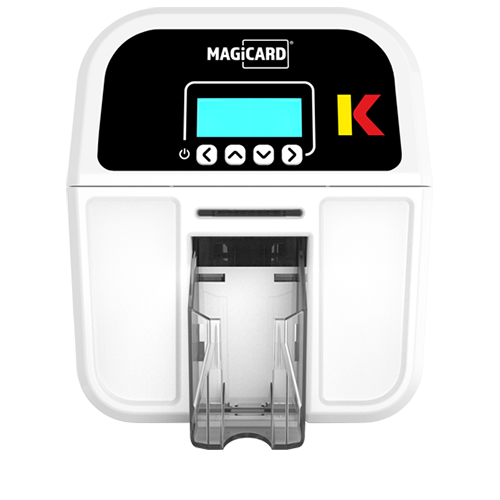
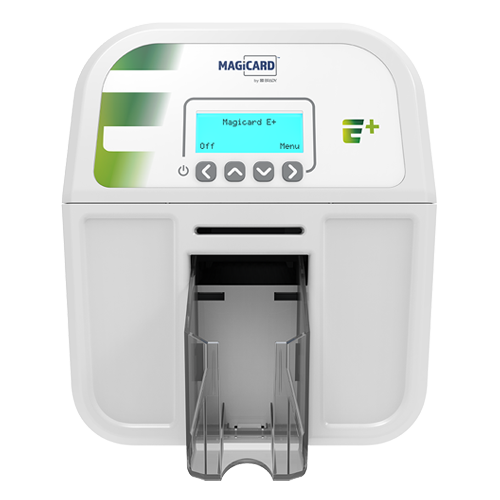

⚡️ Power your printer on only once you confirmed 100% that you have the exact correct PSU...
Cleaning 🧽
For setup and cleaning the printer ('before' you print - to avoid any potential problems) please see our YouTube Channel and find the playlist and cleaning video for your specific printer model.
Follow the process shown for your specific model, though they are all very similar
Cleaning the printer is extremely important and we advise not skipping this step!
During the cleaning video/s you will notice the cleaning roller and how they are installed, the cleaning cards to use and how to actually fit the dye film and cards.
https://www.youtube.com/@MagicardLtd/search?query=cleaning ↗
Ensure the Cleaning Roller is fitted


For Pronto:
https://support.magicard.com/support-solution/pronto-cleaning-roller-assembly ↗


For all other direct to card printers:
https://support.magicard.com/support-solution/cleaning-roller ↗
Dye Film to print with and Cards to print onto.
Fit the film and cards as shown in the cleaning video/s.
You can see a label showing the type of film need inside your printers lid.
Or, look up your printer on the main Magicard website's Consumables section:
https://magicard.com/consumables/ ↗
Test Print (just from the printer itself)
You should now be ready to print the built in test card...
For all printers with a display (bar Pronto & Pronto100) you can press Menu and scroll until you see Test Card
- select it and the printer will print it's internal test card.
For Pronto you can quickly press the front button twice in very quick succession to print the internal test card.
*don't leave a card in the front slot 'ready' beforehand! Leave the slot empty then Wait until the button glows/fades yellow, then feed the card.
For a Pronto100: With the Dye Film fitted and the Lid closed, press the button 4 times in quick succession.
If you have on an older Rio 2 / Rio 2e printer there is a little black button on the back to press for the test card.
Hopefully now you have a cleaned and working printer with a test card that printed out OK. Great work!
Next, install the latest Printer Driver on your computer
You will need the latest printer driver to be installed on your computer. You can download via the homepage of this site > enter your serial number to see the latest drivers.
We have no crystal ball while writing this so you'll have to go solo for this part... macOS, Windows, Linux?
If you are on Windows (which is our most commonly used driver) and connected to the internet - the latest driver should automatically download from windows update when you power your printer on with it connected to USB - Be Patient. Look in control panel > view devices and printers for your Magicard printer icon. More info below.
⚠️ The rest of these steps will be referring to a Windows PC. Again, it's just the most commonly used OS at time of writing this.
Connect the printer to your computer.
Connect to USB You can now connect to your computer and a USB cable will be the easiest way to connect. (no longer than 1.8m length) It will be same one as any other office printers or scanners generally use so steal borrow it from someone else if you don't have it.


⚠️ Best to connect with the printer powered off. Connect the USB cable. Then power the printer back on...
Give it time to install. Be patient. Your PC will be busy in the background. Make tea, relax.
Check the printer connection status
Go to control panel > devices and printers.
Click your windows icon, start typing "control....." to see the devices and printers option like this:

The printers icon should appear... it will look something like below though your printer maybe a different model than shown here:
![]()
- The 'greyed out' icons denote that they are not connected (the middle pair in the screenshot above).
- The 'Solid' coloured icons should be 'connected' (the left and right ones above). Check the status in the next step...
Check your Printer Status
by right clicking on the icon and choosing > Printing Preferences:


Then click on Printer Status which hopefully opens up to show a green banner saying "Printer connected":
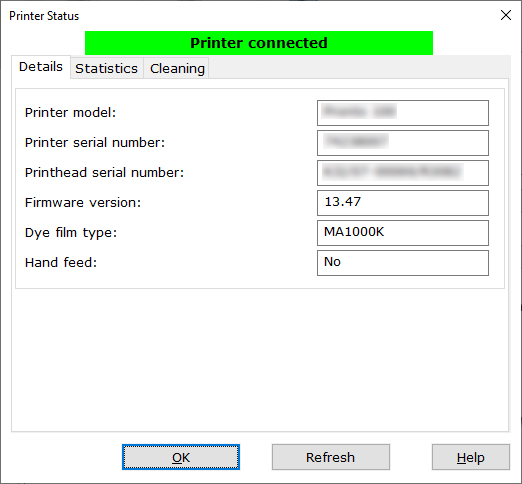
Please carry on below to the Windows Test page section.
If it is Red and "Printer not connected":

- Power the printer off.
- Fully restart your PC.
- Give your PC time to finish fully booting back up again and then power the printer back on... maybe have another cuppa.
A delay here could be due to windows updates in the background, hence the 2nd cup of tea.
Still red?
You might wish to get in touch with - sign-up or sign-in to your Magicard Support Acocunt, top of the website.
Register your printer, and create a support case.
Windows Test Page
You can also now try the windows test page. When this prints it means all is well regarding driver comms too...
From the right click on the icon menu this time choose Printer Properties, then down on the bottom right click 'Print Test Page'...

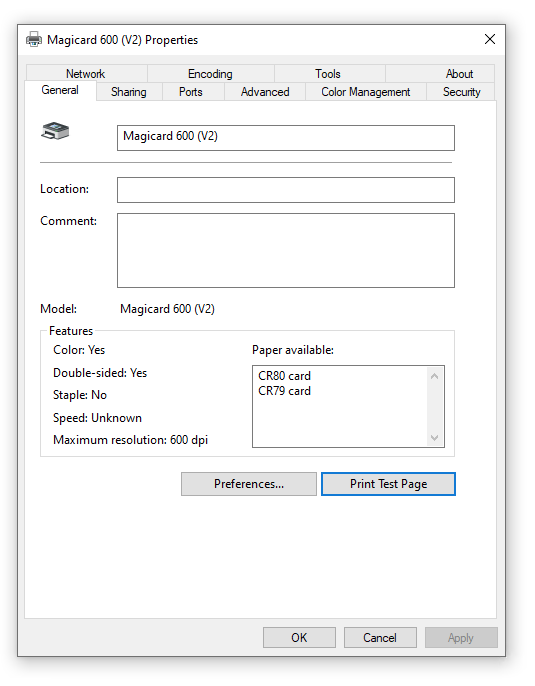
This is very exciting, well we think so anyway.
If it works then you have done a great job and your printer is setup perfectly! 🏆 Carry on below...
Any problems, please sign-up or sign-in to your Magicard Support Acocunt, top of the website.
Register your printer, and create a support case.
Latest Printer Firmware
At this point it would be worth updating your printer with the latest firmware version, unless it already did so automatically...
Enter your serial number on the homepage, the latest firmware will displayed in the firmware tab.
Follow the instructions to install. It doesn't take long.
You will likely still be wondering where you 'really' print from...
Hold your horses just a bit longer...
For getting you setup quickly and for purposes of testing you can actually print from any windows application. The only difference to your normal office printer is that Magicard printers have a much smaller page size (CR80 Credit Card Size). Conveniently, we have some very basic example Microsoft Word templates that you can download from the link below.
https://magicard.com/id-software/ ↗ then select Card Templates.
You can download a MS Word file or copy a google doc file which is already setup to the CR80 Dimesions for your printer.
So do I need a badging application?
You might do. You probably do actually. But you might not... 🧐
Using the word templates will be Very time consuming if you have lots of different badges to print! Where will you store them all? If you just need a few cards a year then the template might do the job...
But any more and this is where a proper badging application can really help!
Which badging application is best for you? It really depends on your requirements (number of cards you will be printing, etc.).
Each of our Partners tend to have their own applications which they either sell or bundle with the printers. They are likely to have even created their own application and they may have different versions for different purposes with different price points.
As the printer manufacturer (Magicard Ltd) we don’t actually supply card printing software 'bundled-with-every-printer' and we also only ship printers via our official partner channel, not directly to end users.
If you know who it is, speak to the original vendor of your printer as they will be best placed to advise based on your specific printing needs.
That said, Magicard have a long partnership with industry leading Card Exchange, they created for us TrustID v4.
You can download a free 42 day trial of TrustID from the same link as above: https://magicard.com/id-software/ ↗
Further Useful Resources:
- Quick Start and Setup Guides:
https://marketing.magicard.com/public/quick-start-quides/ ↗ - What is Dye Sublimation Printing:
https://magicard.com/what-is-dye-sublimation-printing/ ↗ - Magicard Main Website:
https://magicard.com/ ↗
https://magicard.com/articles/ ↗ 👈 many more useful articles and guides
Hopefully the above information is helpful to get you up and running with the equipment you find yourself faced with!
If you still need some assistance don't worry, that's what we're here for...
Sign-up or Sign-in to your Magicard Support Acocunt, top of this website.
Register your printer, and create a support case.
This was a bit of an epic article but we hope it helped.
Many thanks and well done for getting through it!
Magicard Technical Support Team.


